


Needle MCP: Integrate Claude’s Desktop to build AI Agents on your private data
Build custom AI Agents via Natural Language for Quick Document Management


Welcome to a beginner-friendly tutorial on how to set up a Needle MCP (Model Context Protocol) Server to manage and search documents using Claude’s Desktop application. You’ll learn how to install and configure Needle MCP so you can quickly organize documents across all your data sources with Needle and retrieve them via Claude’s natural language interface.
Why Needle MCP?
If you’ve ever struggled to find important documentation buried in various folders or chat threads, Needle MCP solves that headache by:
Storing all your documents in a central location
Providing a fast, natural-language-based search through Claude’s large language model
Integrating seamlessly with the Needle ecosystem for advanced document management
By the end of this guide, you’ll have a working setup where you can type commands on Claude’s Desktop and see Needle instantly fetch relevant documents.
What You’ll Build (The End Result)
Here’s a quick snapshot of the outcome:
Claude Desktop is configured to connect to the Needle MCP Server.
You can type commands like “Search for AI in my Technical Docs” and watch Claude’s interface return results from your Needle collections.
A minimal set of dependencies so you can keep the setup lean and avoid tangling with unneeded installations.
Feel free to skim ahead if you’re comfortable with certain steps, but beginners will find every detail laid out to avoid confusion or guesswork.
Prerequisites
A computer running macOS or Windows.
Homebrew (macOS) or an equivalent package manager for installing
uv.A Needle API key from Needle.
We tested these instructions on:
macOS 13.x
uv v1.0.0 (installed via Homebrew)
Python 3.9 or newer (if you plan to tweak the code).
Tip: If you’re on Windows, you can still follow along, but commands will differ slightly in paths. We’ll point out where you need to change directory names.
Step 1: Clone the Repository
First, choose a folder where you want to store your code and run:
git clone https://github.com/yourusername/needle-mcp.gitWhy? We’re grabbing all the source code for the Needle MCP Server, which you’ll run locally.
Step 2: Install and Verify uv
We use uv To manage and run the Needle MCP Server:
brew install uvTo confirm it’s installed, run:
uv --versionIf
uvfails to run, verify that yourPATHincludes the Homebrew installation directory.On Windows, or if Homebrew isn’t an option, refer to the official
uvdocumentation for alternative installation steps.
Tip: We use the long version of commands where possible (e.g.,
--version) so you don’t have to memorize short flags.
Step 3: Configure Claude's Desktop
3.1 Create Your Claude Desktop Config File
Depending on your operating system, create (or edit) a file named claude_desktop_config.json in one of these folders:
macOS:
~/Library/Application Support/Claude/Windows:
%APPDATA%/Claude/
Why This Matters: Specifying filenames clearly helps you avoid guesswork. We want Claude to know exactly where to load your Needle MCP settings.
3.2 Add the Configuration
Open claude_desktop_config.json in a text editor, and replace the placeholder values as needed:
{
  "mcpServers": {
    "needle_mcp": {
      "command": "uv",
      "args": [
        "--directory",
        "/path/to/needle-mcp",
        "run",
        "needle-mcp"
      ],
      "env": {
        "NEEDLE_API_KEY": "YOUR_NEEDLE_API_KEY"
      }
    }
  }
}/path/to/needle-mcp: Change this to the actual folder path where you cloned the repository.YOUR_NEEDLE_API_KEY: Replace with your real API key from Needle.
Separate user-defined values: We clearly show which parts of the code you must customize so you can copy/paste the rest without worry.
Step 4: Run Needle MCP in a Working State
Now you can start Needle MCP. Quit Claude Desktop completely and reopen it to load the new configuration.
To verify that it works, open Claude Desktop and run:
“List all my collections”
Or “Search the collection for references”
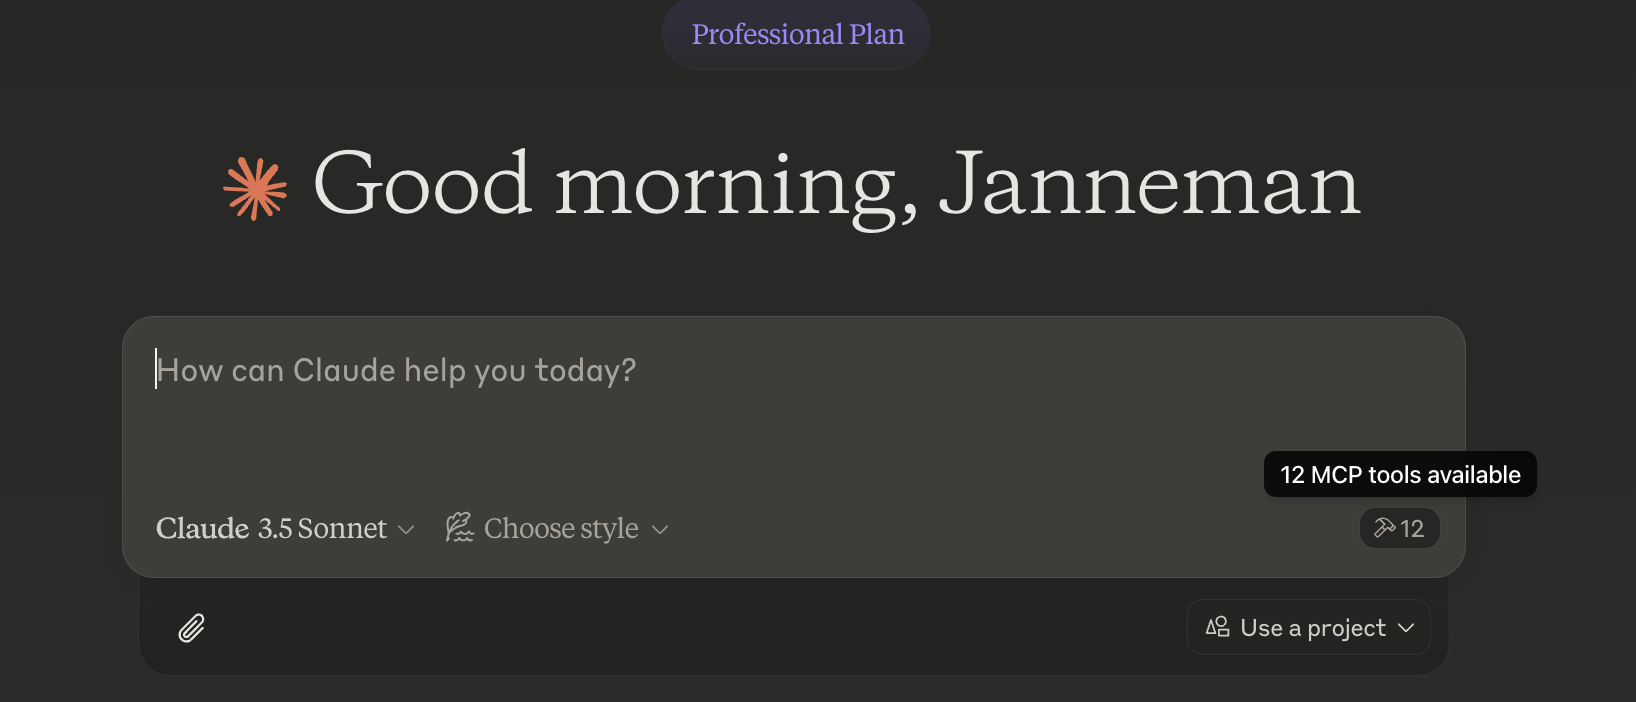
If everything is set up correctly, Claude’s Desktop will connect to the running Needle MCP Server, and you’ll see search results appear in Claude’s interface. You can see the small MCP tools available in the lower right corner.
Demonstrate that your solution works: Checking these commands ensures you haven’t overlooked any essential step.
Usage Examples
Below are a few sample commands you might issue to Claude Desktop:
“Create a new collection called ‘Technical Docs’.”
“Add this document to the collection, which is [URL].”
“Search the collection for information about AI.”
“List all my collections.”
Each command returns a result in Needle, showing how your documents are organized or retrieved.
Building AI Agents with Needle MCP
Beyond simple storage and search, Needle MCP allows you to build AI agents that interact with your documents and other data sources:
Auto-Responders: Configure Claude to automatically process and respond to queries based on your Needle collections.
Contextual Chatbots: Leverage Claude’s large language model, plus your stored data in Needle, to create specialized chatbots: like an AI that fields questions about your internal documents.
Task Automation: Use AI-driven logic to orchestrate advanced workflows, such as automatically categorizing or summarizing new documents.
By bridging Claude’s Desktop with Needle's robust indexing and retrieval power, you can rapidly develop AI agents tailored to your organization’s needs, without manually cobbling together multiple tools.
Minimizing Dependencies
uvis the only major dependency we need. We avoid pulling in extra frameworks or libraries to keep your setup lean.If you’re on Windows or Linux without Homebrew, you can install
uvdirectly from the source or use a package manager available on your system.
Why? Fewer dependencies mean less friction and fewer potential conflicts, making your tutorial experience smoother.
Troubleshooting
If uv Is Not Found
Confirm you installed
uvit globally.On macOS, run
which uvto see if it’s in yourPATH.On Windows, you may need to add the
uvbinary to your PATH manually.
If Your Needle API Key Isn’t Working
Double-check you copied the exact key from Needle.
Make sure the
envfieldclaude_desktop_config.jsonmatches your actual key.
Resetting Claude Desktop
If you’re stuck or see old configurations, remove the entire
claude_desktop_config.jsonfile and re-create it.On macOS, that’s
~/Library/Application Support/Claude/claude_desktop_config.json; on Windows,%APPDATA%/Claude/claude_desktop_config.json.
Spare the reader from mindless tasks: We show straightforward commands and steps rather than forcing manual changes in random system files.
Linking to the Complete Example
All instructions here are based on the open-source Needle MCP GitHub repository. You can review the final code in the main branch and check out any relevant tags or branches if we add incremental features in the future.
Keep code in a working state: The repository has a functioning version you can clone, build, and run today.
Wrapping Up: You’ve Learned One Thing
By following the steps above, you’ve successfully configured Needle MCP with Claude’s Desktop: that’s the single new concept we set out to teach. Now you can:
Organize your documents in Needle
Search them using natural language commands in Claude Desktop
Quickly expand or refine your document collections as needed
Leverage this setup to build AI agents that streamline your document-driven tasks
No more rummaging through chaotic folders. Just type your request, and let Claude + Needle handle the rest!
Next Steps
Watch the YouTube Demo to see it all in action.
Add more custom commands or collections to refine your workflow.
Experiment with AI agents for advanced automation and specialized chatbots.
Share your experience or ask questions in the comments.
Thanks for following along! If you found this tutorial helpful, consider subscribing to receive future updates and tips on managing documents and building AI agents with Needle MCP.